Frequently Asked Questions — A4 Laminator
Should I get an A4 or A3 laminator?
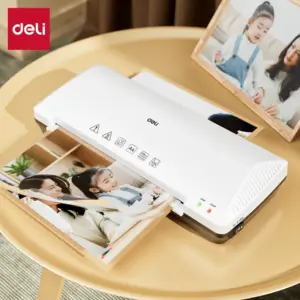
If you only ever laminate A4 documents and smaller — standard office paperwork, certificates, ID cards, recipe cards — an A4 laminator is the better choice. It's more compact, lighter, uses less desk space, and costs less than an equivalent A3 model. An A3 laminator is only necessary if you regularly need to laminate posters, menus, A3-sized charts, or other large-format materials. That said, all A3 machines can also laminate A4 and smaller, so if there's any chance you'll need the larger format in the future, an A3 machine gives you more flexibility.
What does a 3-in-1 laminator mean?
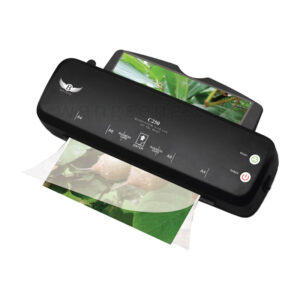
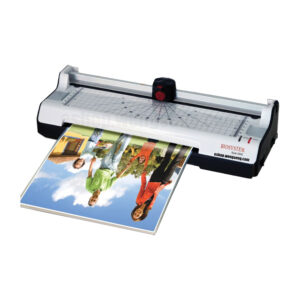
A 3-in-1 laminator combines a laminator, a trimmer (guillotine cutter), and a corner rounder in a single unit. The Biosystem Style 260C in our range is a 3-in-1 model. This is particularly useful for ID cards, loyalty cards, name tags, and photo laminations — where you laminate the sheet, trim it to size with the built-in cutter, and then round the corners for a clean, professional finish, all without needing separate tools. If you do a lot of card-sized lamination work, a 3-in-1 unit saves time and desktop space.
What is a backloader laminator and how is it different?
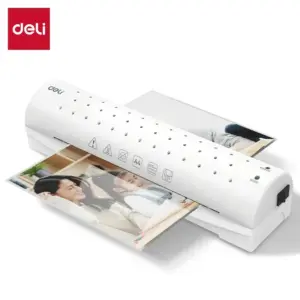
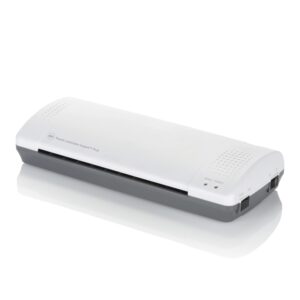
A standard laminator feeds the pouch in from the front and ejects it from the back. A backloader — like the Monolith 289 in our range — feeds and ejects from the same end (the back), which means the machine can sit flush against a wall without needing clearance space behind it for the document to exit. This makes backloaders a practical choice for tight desk setups or small offices where space is at a premium.
What pouch thickness works best for everyday office use?
For most everyday A4 office lamination — notices, reference sheets, instruction cards — 80µm per side is sufficient and produces a light, flexible result. For documents that will be handled frequently or displayed on walls, 125µm per side is the go-to choice, giving a firm and professional finish. If you're laminating ID cards or name tags that need to be rigid and durable, 150µm or 175µm per side is ideal. Always check your machine's supported pouch thickness range before buying pouches in bulk — some basic models are limited to 80µm or 100µm per side.
How do I avoid the document shifting inside the pouch before laminating?
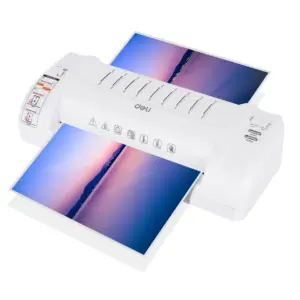
The easiest method is to fold the pouch in half first, insert your document snugly against the sealed end (the spine), then gently flatten the pouch so the document sits squarely inside before feeding it in. Feed the sealed end in first — the rollers will grip the spine and pull the rest through evenly. If the document moves around inside the pouch, you can lightly tape the open edges of the pouch together before feeding, or use a carrier sheet (a folded piece of plain paper) around the pouch to guide it through smoothly.
Can I laminate photos with an A4 laminator?
Yes, but with a couple of considerations. Standard glossy photo paper can sometimes stick to the inside of the pouch or produce a slightly uneven finish if the laminator runs too hot. Use a carrier sheet around the pouch to protect it, and if your machine has a temperature setting, use the lower end for photos. Matte photos and printed documents generally laminate more cleanly than high-gloss surfaces. For best results with photos, choose a machine with adjustable temperature control, which several of the mid-range models in our range offer.